I have learnt a great deal about windows in the last few days. Primarily that aesthetics are very important and most PVC sash windows, while cheap, are unsatisfactory.
This is because whatever you do, the central bar looks too wide compared to a Victorian/Edwardian one.
We have a wall facing the street, in which we are planning to place a window so that our basement will have daylight. The first step was to decide on the size of the window.
This simple task required us to move several piles of wood that was due to be reclaimed and cut into pieces suitable for the wood burner but just hadn’t quite got round to it yet. We then had to get rid of a large quantity of cotoneaster and ivy that was cunningly concealing the wall.
Finally, we took our trusty set of chalks, and drew on the wall. The window had to be in line with the sash windows on the floor above. We counted bricks and measured. The lintels are in yellow and the window opening is in blue.
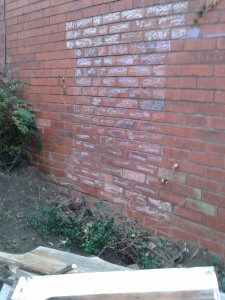
I feel I must point out that the plant that has not yet been dug up is very, very spiky.
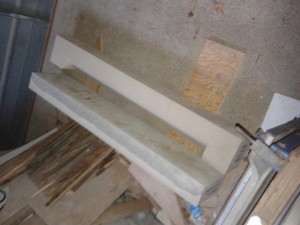
The outside lintels are made of reconstituted stone. Did you know that you need to have two lintels if you have a cavity wall, one to support the inside wall (which can look like a lump of concrete because it will be plastered) and one to support the outside wall which may be decorative.
Here are the decorative ones. They are on the floor of the garage. In a place where they can conveniently be tripped over. I haven’t got a photograph of the concrete lump because it went from the back of the car into the wall on the same day. The stone ones had to be ordered in advance and made to measure.
The lintels then had to be inserted into the wall.
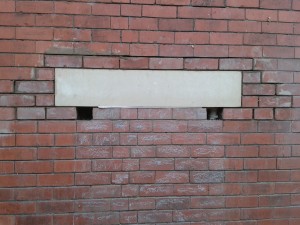
Yes. First of all you cut a hole in the outside wall. Then you cut a hole in the inside wall. Then you put the inside lintel into the hole in the inside wall. Then you fill up the gap with expanding foam. Then you put the outside lintel into the wall. This was a complex job, because the bricks had to be rearranged so that the course immediately under the lintel supported them as much as possible. PB (perfectionist builder) carefully removed, recut and replaced the bricks to ensure that this would happen. The bricks immediately under the lintel have been changed to a brick and a three-quarter brick to provide proper support.
You can see the grey ends of the inside lintel. It’s bigger, so didn’t need the fancy brickwork rearrangement to support it.
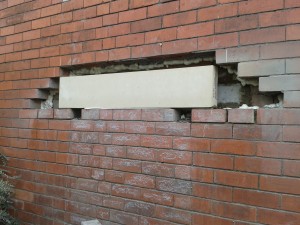
Here is a picture of the brick cutting.
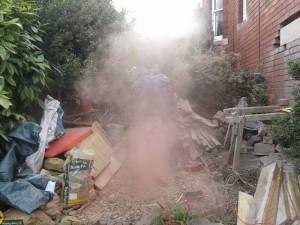
And finally, here is a real lintel in the wall instead of a chalk one.
It’s very beautiful.
Finally, just for the record. Here is a picture of the inside of the wall. I have drawn a window with chalk on the wall. And some trees and flowers and foliage. Chalk is not very effective on masonry paint.
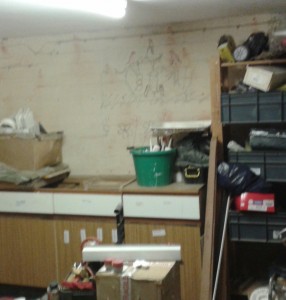
Before the window-to-be could be drawn on the wall, a set of cupboards had to removed from on top of the current set of cupboards. This required us to clear a space in the room in which the cupboards could be put. Which required us to move the washing machine and sink which were currently in the place where the other cupboards now are. Which required us to replumb the kitchen sink in the floor above.
So if I was to start at the other end of the project, the first requirement would be
“Find both sides of the wall in which you are going to put a window”
We haven’t ordered the window yet. That would be going a bit far.
